Did you know that you can use a 911 VPN on your iPhone? This can be a great way to keep your data safe and secure while you are online.
 Checkout this video:
Introduction
If you are looking for a VPN for your iPhone, you may have come across the 911 VPN service. This is a relatively new service that has been designed specifically for iPhone users. In this article, we will take a look at how to use 911 VPN on iPhone and whether or not it is a good option for you.
911 VPN is a Netherlands-based company that offers a free and paid-for VPN service. The free version of the service offers unlimited data but is restricted to three server locations (Netherlands, Canada, and United States). The paid-for version of the service removes these restrictions and also adds extra features such as port forwarding and dedicated IP addresses.
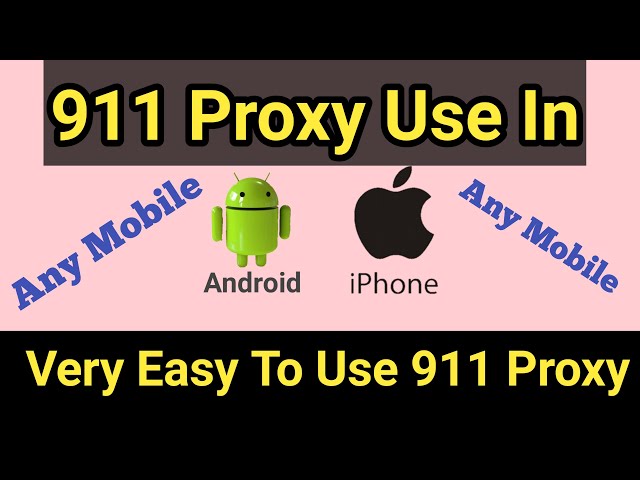
What is 911 VPN?
911 VPN is a free, unlimited and secure VPN app for iPhone and iPad with no ads and no registration.
What is a VPN?
A VPN (Virtual Private Network) is a technologies that allow you to access the internet securely and privately byrouteing your traffic through a server and hiding your IP address.
Why use 911 VPN?
– Free and unlimited bandwidth
– No ads, no registration
– No logins or passwords
– One-click connect
– Hide your IP address
– Encrypt your traffic
– Bypass firewalls
– Unblock websites and apps
– Secure your connections on public Wi-Fi hotspots
How to Use 911 VPN on iPhone
911 VPN is one of the most popular VPN apps on the App Store. It offers a great way to surf the web anonymously and securely. It also has a lot of features that make it a great choice for iPhone users. In this tutorial, we will show you how to use 911 VPN on your iPhone.
Step 1: Download and Install 911 VPN
In order to use 911 VPN on your iPhone, you will first need to download and install the app. You can do this by visiting the App Store and searching for “911 VPN”. Once you have found the app, click “Install” and then enter your password when prompted.
Step 2: Configure 911 VPN
Once you have the 911 VPN service set up on your iPhone, you will need to configure it before you can use it. Tap the “Settings” icon on your home screen, and then tap “VPN.” If you do not see “VPN” listed, tap “General” and then “Network.”
Tap the “Add VPN Configuration” button, and then enter the following information:
-Type: L2TP
-Description: 911 VPN
-Server: vpn.911vpn.com
-Account: Your 911 VPN Username
-RSA SecurID: OFF
-Password: Your 911 VPN Password
-Send All Traffic: ON
-Proxy: OFF
Step 3: Connect to 911 VPN
Now that you have 911 VPN installed on your iPhone, you need to connect to it in order to start using it.
1. Open the 911 VPN app.
2. Enter your username and password, then tap “Login”.
3. Tap the “Connect” button.
4. That’s it! You are now connected to 911 VPN.
Conclusion
Using a 911 VPN on your iPhone is a great way to keep your data secure and your identity private. In addition, a VPN can also help you bypass geo-restrictions and keep your online activity private.
There are a few things to keep in mind when choosing a VPN, such as the security protocols offered, the jurisdiction of the provider, and the client software compatibility. Overall, 911 VPN is a great choice for anyone looking for a reliable and affordable VPN solution.